
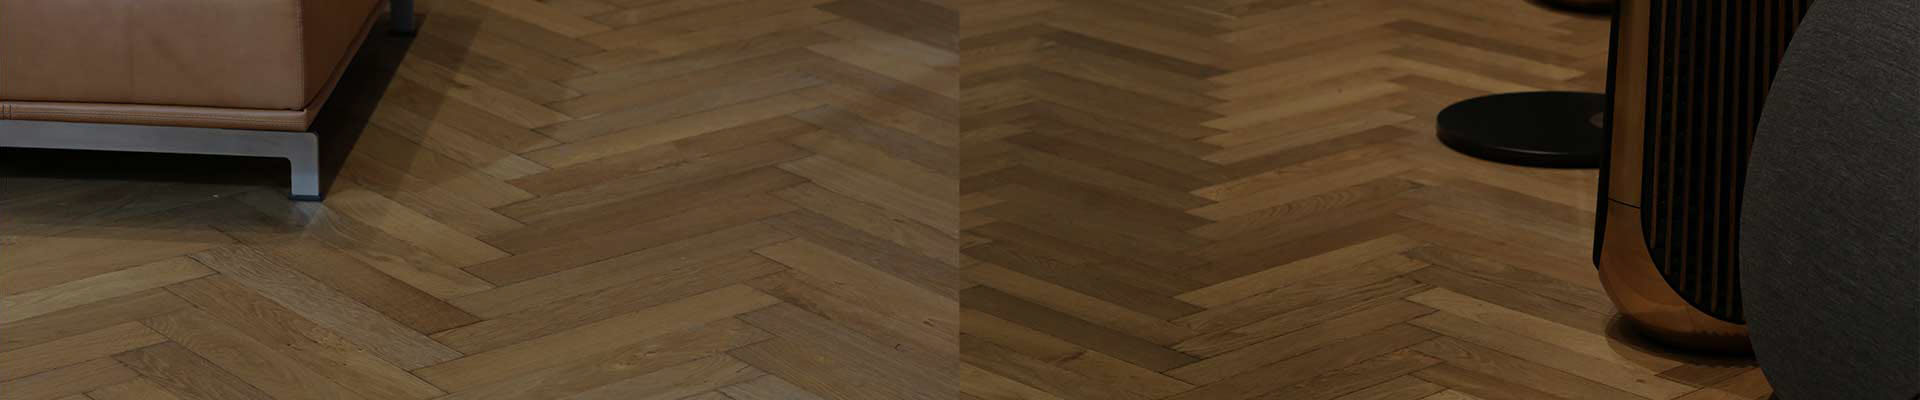
If you’ve taken on the task of laying your laminate flooring in the classic herringbone style, there is a lot to consider before you start. The popular flooring design is intricate and suits any decor style, but at first glance it can feel like quite the undertaking.
Is It Difficult to Lay Herringbone Flooring?
Although it may look difficult, it can actually be easier than you think, with the right tools and know-how. If you’re wondering how, below you’ll find all the tips and steps you’ll need to complete the job and you’ll be left with a beautiful, timeless flooring that will last you for years to come.
Here at Ecowood Floors, we have a huge range of finishes, effects, and sizes to choose from when purchasing your engineered flooring.
What To Consider
- Your flooring will need to be acclimatised for 48 hours. Leave the flooring in the room it will be fitted in with the boxes open – this lets the wood become used to the humidity levels of the room and prevents warping later on.
- Separate the A and B boards into two piles prior to installation (the type of board will be written on the base. You should also mix up boards from separate packages to mix up the grade pattern and shade variation.
- It’s essential that the subfloor is dry, clean, solid, and level for a successful installation.
- Installation must use the correct underlay to support your new flooring. Take into consideration the floor you are laying your laminate on, if you’ve got underfloor heating, noise cancellation, etc. See all of our laminate flooring underlay options for the perfect solution.
- You need to leave a 10mm gap around everything including pipes, door frames, kitchen units etc. You can purchase spacers to make this easier.
What You’ll Need
- Straight Edge
- Floating Floor Underlay
- Laminate Flooring Cutter
- Fixed Heavy Duty Knife/Saw
- Square Ruler
- Floating Floor Spacers
- Tape Measure
- Jigsaw
- PVA Adhesive
- Pencil
- Knee Pads
Instructions
- Take two B boards and three A boards. Click the first B board into the first A board to form a classic ‘V’ shape.
- Take your second A board and place it to the right of the ‘V’ shape and click it into place.
- Next, take the second B board and place it into the left of the V shape, clicking it into place then take the third A board and click it into place on the right of your V shape.
- Take the fourth A board and click the header joint into place in the second B board.
- Using the straight edge, mark a line from the top right corner of the third A board to the top right corner of the fourth A board and cut along it with the saw.
- You’ll now be left with an inverted triangle. Separate the pieces and use adhesive glue to ensure your shape is sturdy. Repeat with the number needed for one wall.
- From the centre of the rear wall, work your way outwards placing all of your inverted triangles – leaving 10mm at the back and side walls. (You can use spacers for this if it makes things easier).
- When you reach the side walls, you may need to cut your triangles to fit. Ensure you remember to leave 10mm space.
- For the following rows, begin from right to left using B boards and placing them to the left of each inverted triangle. When laying your last board, take the measurement for section a and mark it on your B board. Then cut the measurement for section a at a 45 degree angle to ensure it fits seamlessly. Glue this board onto the inverted triangle to ensure it is sturdy.
- Next, place your A boards to the right of each triangle, clicking them into place.
- Continue this method until you have finished: B boards from right to left and your A boards from left to right.
- You can now add skirting or beading.
Post time: Jun-08-2023